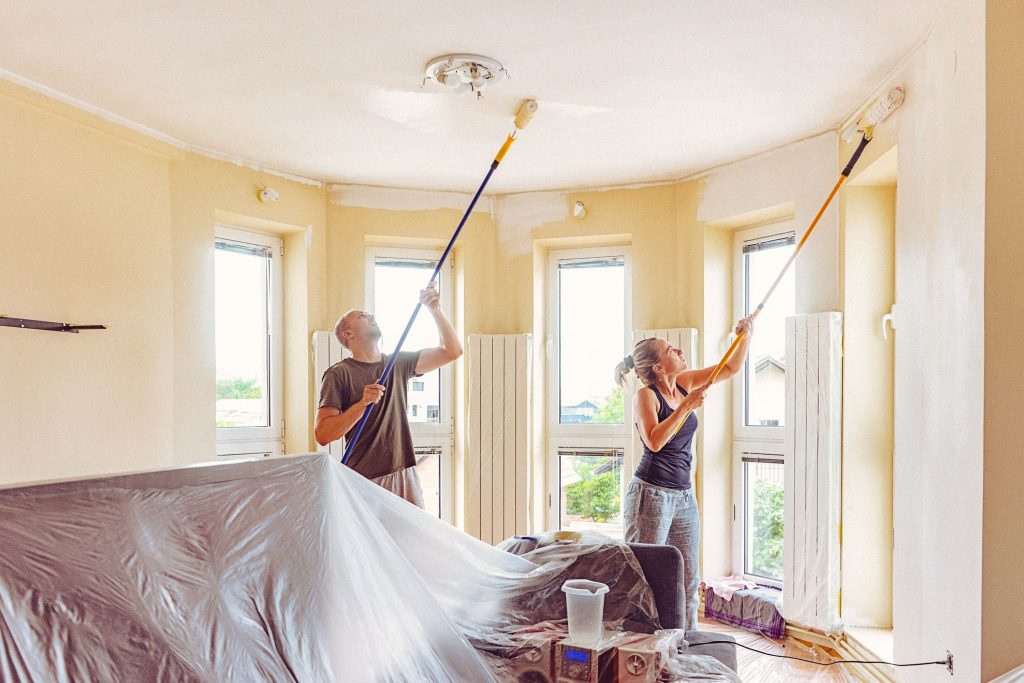
1) Prepare the room and ceiling for painting
Making the room ready before you start painting the ceiling will make the job go more quickly.
- If at all feasible, move all of the furniture out of the room to prevent paint splatter or other damage.
- Clean up any debris and dust from the ceiling. Dusty ceilings will have trouble holding paint.
- Look for any holes or cracks in the ceiling that you may patch with caulk or spackle.
- The task will be simplified by removing the ceiling fixtures. Before removing the hardware, make sure the fixtures are unplugged at the breaker or fuse box. Put the hardware in bags made of plastic and set it aside.
Top Tip: Wear safety eyewear and think about donning a cap to prevent paint splashes from landing in your hair.
2) Spread drop cloths out
Drop cloths should be placed on the floor to cover any large pieces of furniture that cannot be moved.
- Overlap the drop cloths by a minimum of 12 inches for the best protection.
- To keep drop cloths in place, tape the baseboards.
- When appropriate, cover windows, doors, and trim with drop cloths or painter’s tape.
3) Tape the walls' tops.
If you are merely painting the ceiling of a room, use 2-inch painter’s tape to mask off the tops of the walls or the crown moulding to prevent roller markings on the walls. Avoid using 1-inch tape because it is insufficiently wide to keep the paint roller from touching the wall.
4) Use a Stain-Blocking Primer to Cover Flaws
Roof leaks, clogged drains, smoke from cigarettes, and large spills can all create unsightly ceiling stains or dinginess that cannot be covered up with regular paint. However, your problems will be solved if you apply a coat of stain-blocking primer over the stain.
White pigmented shellac is the classic choice. Pigmented shellac is available in spray cans, but typically brushing it on is simpler. Just remember to pick up some denatured alcohol or ammonia to clean your brush. Roll a coat of shellac over the entire ceiling if you are painting over a smoke-yellow ceiling before using latex paint.
5) Sand Before You Paint
Bumpy areas and debris may become adhered to the ceiling over time as the paint’s many layers are built up. Start off by giving untextured ceilings a quick once-over with 100-grit drywall sanding paper. This improves paint bonding and guarantees a flawless paint finish. The simplest way to do this is with a sanding pole. After sanding is complete, clean the ceiling with a moist sponge to get rid of the dust.
6) Prime the Ceiling and Cut the Corners
Use a roller to apply a coat of latex paint primer to the ceiling, especially if it has stains. On a smooth or barely textured ceiling, use interior latex drywall primer, and on a more heavily textured ceiling, use a high-build primer.
- Before using rollers to apply the paint, “cut the corners” or paint the edges where the ceiling meets the wall with a paintbrush.
Allow the primer to completely dry in accordance with the instructions. By doing this, you can be confident that paint will cover any gaps the roller might leave behind and hide any brush strokes
7) Paint in Sections With a Roller
- Using a paint roller and working in grid-like areas of 3 to 5 square feet each is the ideal method for painting a ceiling. This keeps edges moist and makes it possible for you to monitor your progress to guarantee an even coat.
- A low nap roller should be used for smooth ceilings.
- Use a roller with a 1/2-inch or 3/4-inch nap for a textured ceiling.
- Use the paint tray frequently to progressively load the roller with ceiling paint.
- When the paint cut line is still wet, start rolling.
- Roll in overlapping rows, starting at a corner.
- Avoid rolling over your head directly.
- Slightly vary the direction of your rolling, as a perfectly straight roll may show overlap marks. Continue until the section is done.
- Continue applying paint, rolling out and blending with the cut-in edge and the previous section until the ceiling is complete.
Top Tip: Immediately dab any drips or spatters with a moist cloth
8) Add a Second Coat as Needed and Clean Up
- A second coat might be necessary if you chose to paint your ceiling a lighter shade of white or another colour that needs to stand out.
- Before adding a second layer, let the paint completely dry as directed.
- Spray the second layer fast in one direction, covering the entire surface.
- Once each layer has been applied, start the room’s clean-up.
- Transport your painting tools, such as rollers, brushes, paint trays, and other materials, to a large tub or sink in the garage for cleaning. Squeeze out any remaining paint with warm soapy water, then rinse the soap away with water. Set out to dry by air.
- After the paint is touchable dry, remove any painter’s tape that was used.
- Secure ceiling light fixtures once more.
Ceiling Painting Tips
When learning how to paint a ceiling, heed this painting advice.
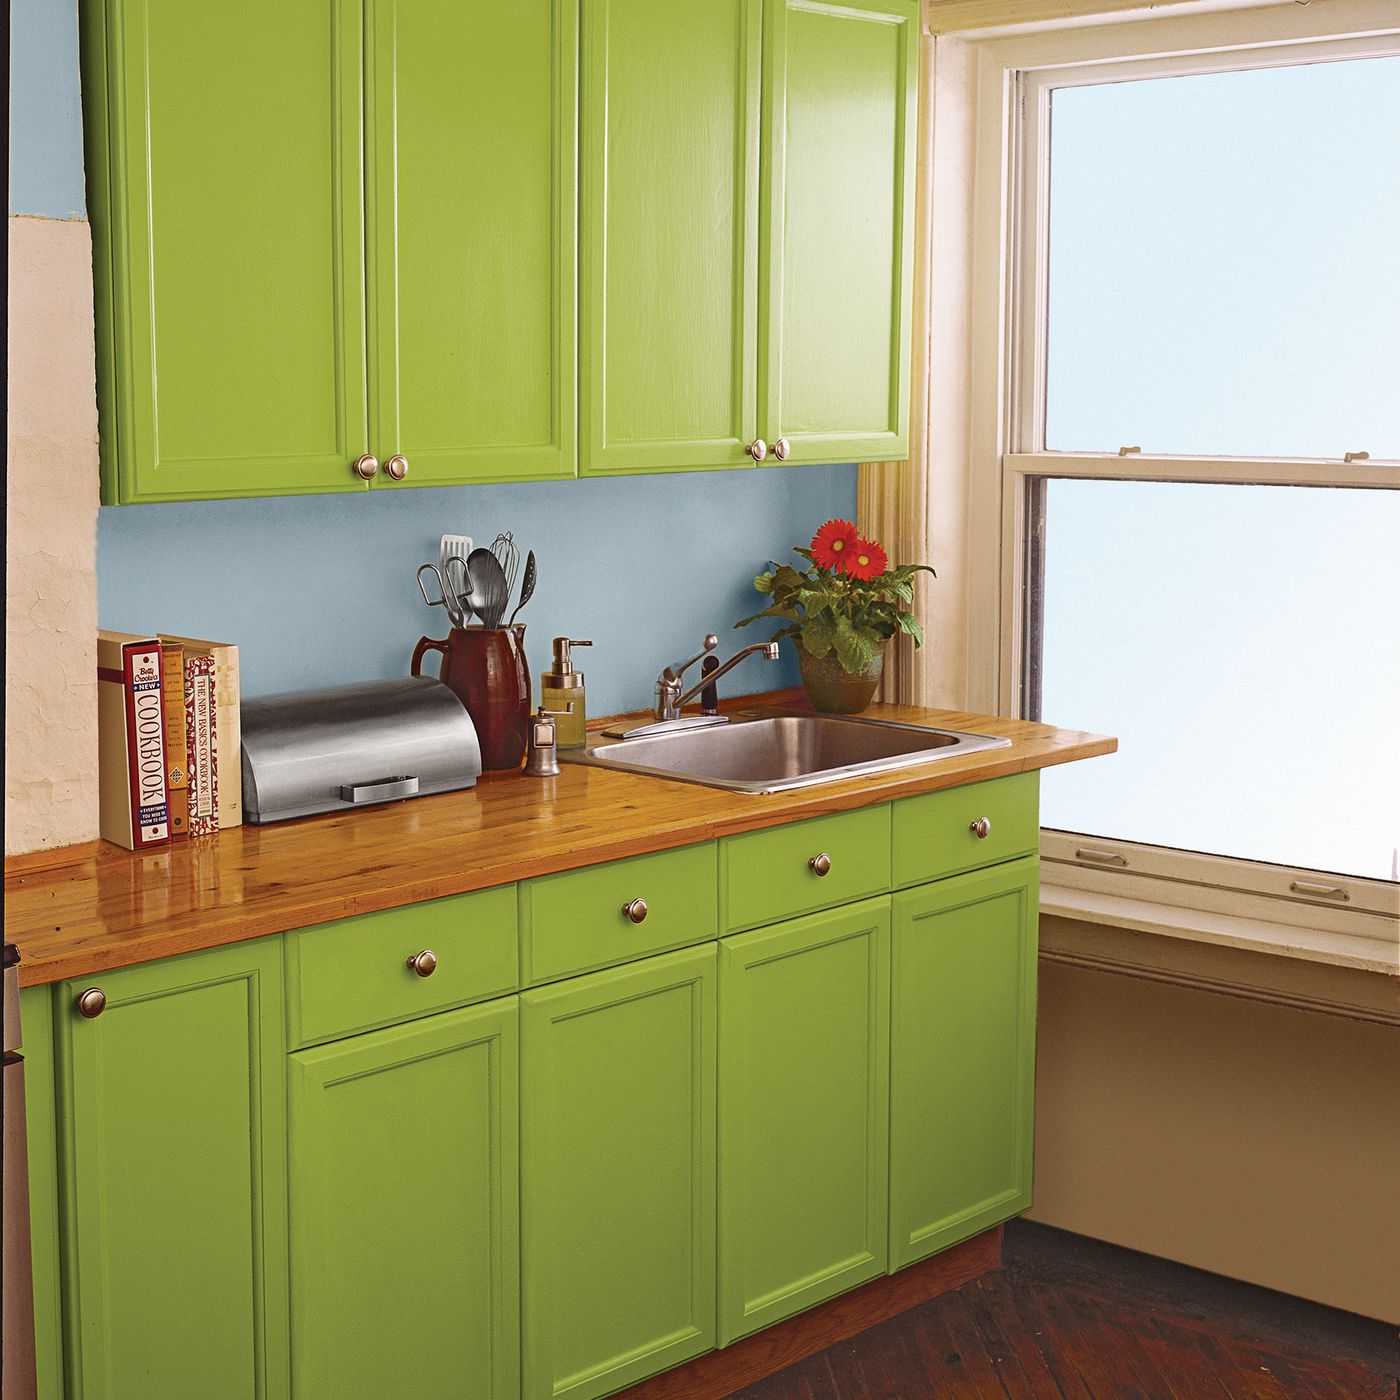
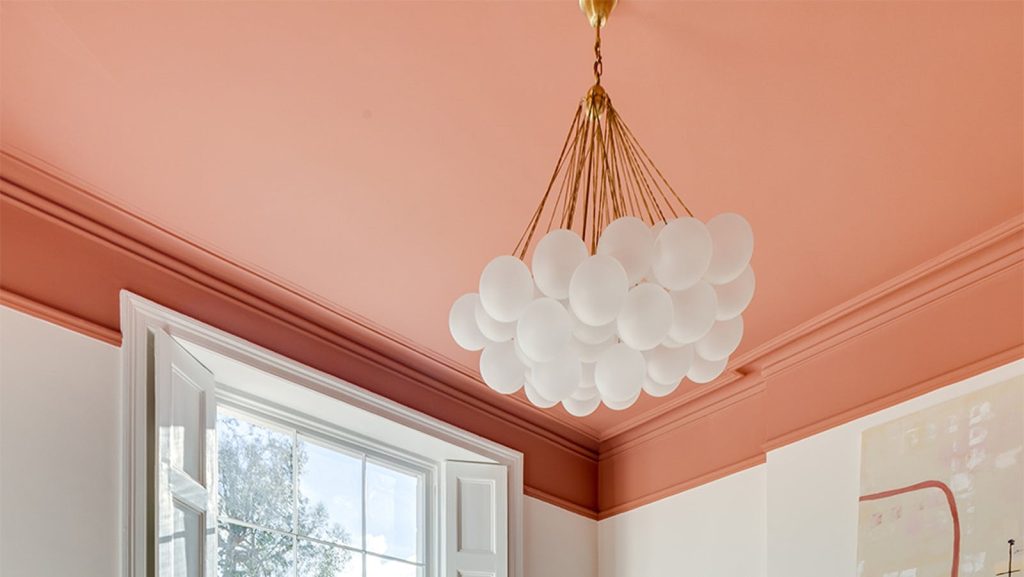
- Always use ceiling paint rather than wall paint and think about your colour selections.
- A room will be brightened by a standard white ceiling, but a coloured ceiling may make the space appear larger.
- Even the best paint will not protect against mildew and water stains, therefore it might be necessary to use a stain-blocking primer before painting.
- Shellac-based primers are more effective against smoke or nicotine stains, whereas oil-based primers perform better with water stains.
- When painting a room from top to bottom, start with the ceiling and move on to the walls.
- Purchase an extension pole for a paint roller. This will make it much easier for you to paint above your head and will make it easier for you to go to higher places and angles.
- When necessary, use a solid step ladder.
- If you have textured ceilings, try the material by rolling it out to make sure it will not come off. Use a paint sprayer on the ceiling as your best alternative if the texture appears sloppy.
Consider using a professional for exceptionally high ceilings, such cathedral ceilings
Top Tip: Think of your ceiling as the “fifth wall” of your room, the ceiling should be painted with the same attention to detail as any other painted surface
Gently roll across textured ceilings
It is a bit of a gamble painting textured ceilings. It is usually safe to paint again if the texture has already been covered with paint. There is a chance that the water in the paint will loosen the texture if it has never been painted, causing it to flake off in sheets. The effectiveness of the texturing job has a big impact. Try applying some paint to a closet or other unnoticed place as a test to see what occurs. Painting over the larger ceiling at risk if the texture begins to loosen.
Spraying the paint instead of rolling it on will less likely loosen the texture. Spraying in a home that is occupied, however, is usually not practical. Avoid overworking the paint when rolling it on since this is the greatest advice. Put paint on and just leave it. Avoid moving the roller back and forth because doing so could remove the texture off the ceiling. Wait until the first layer is totally dry before applying the second coat of paint to the ceiling. Then, using the same cautious method, roll a second coat parallel to the first.
Where You Can't Maintain a Wet Edge, Feather Out the Paint
The easiest approach to reduce lap marks on large surfaces like ceilings, exceptionally tall walls, or stairwells is to feather out the paint along the borders that you are unable to keep wet. The accumulation that results in the lap mark will be prevented by the thinner, feathery coat of paint.
Roll the nearly dry roller in various directions along the dry edge, feathering out the paint as you go, to paint a wide piece without leaving lap lines. Move on to the following stage and paint over the feathered edges once the entire length of the wall or ceiling has been painted. Apply the paint in the opposite way for the second coat. Lap marks are drastically reduced by this crisscrossing paint application, if not entirely removed.
Groove Ceiling Texture
Painting right adjacent to rough-textured ceilings, sometimes known as “cutting in,” is practically hard to do without getting paint on the ceiling. The ceiling cannot be blocked off with tape, either. The answer? With a putty knife, remove the edge texture. Run the blade of the knife along the edge of the ceiling while holding it at a 45-degree angle to the wall. The blade leaves a little groove in the ceiling after scraping away the texturing. Use a dry paintbrush or a duster to clean out the groove.
The paintbrush bristles will now slide into the groove when you cut in along the top of the wall, giving you a clean paint line without getting paint on the ceiling. And the thin line of lost texture will not even register on your radar.
Eliminate Paint Freckles
You are covered in a fine mist created by rolling paint on the ceiling. You must wear a baseball cap, and safety glasses allow you to view your task without squinting. Apply lotion to your face, arms, and hands to facilitate skin cleansing. Your paint freckles will disappear after the day is through.