Best Way To Prep A Space Before Painting
Introduction
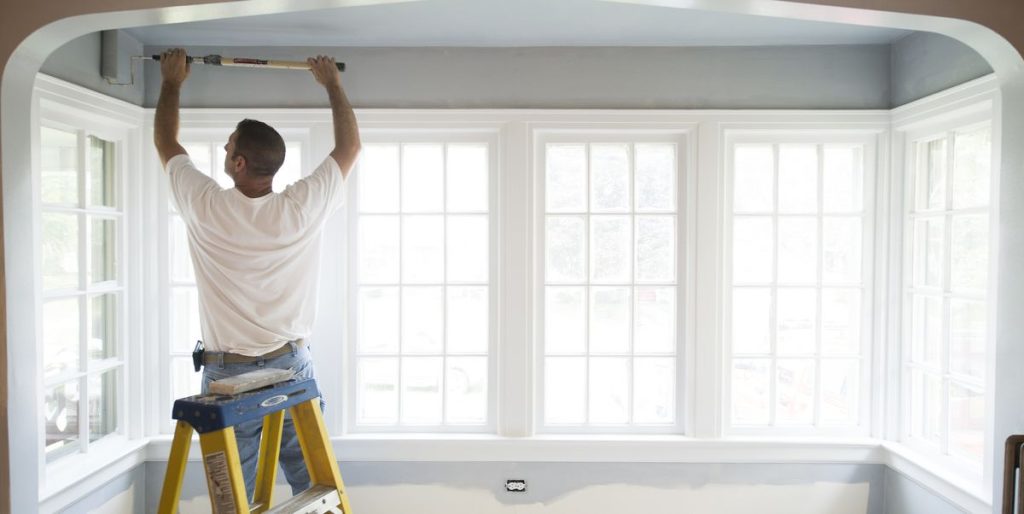
Are you searching for the best way to prep a space before painting? Look no further!. We at The Small Paints Company can handle every job of yours. Painting is one of the best ways to give your house a brand-new look. Whether you’re planning to update your bedroom color, choose a new kitchen paint color, or transform any other room in your house, prepping the space properly is essential for achieving professional and long-lasting results. In order to make sure that your project is successful, we will walk you through the best technique to prepare a space before painting in this post.

Clearing and Cleaning the Space
Before you can start painting, it’s important to clear the room of furniture and fixtures. Removing these items will not only protect them from potential paint splatters but also provide you with the necessary space to work efficiently. If you’re focusing on bedroom paint or kitchen paint, make sure to remove any accessories, such as towel racks or cabinet hardware, to avoid painting over them.
Once the space is clear, cover surfaces and protect the floors. Lay down drop cloths or plastic sheets to safeguard your flooring from any accidental spills or drips. For better adhesion of the paint, make sure to clean the walls and surfaces. Remove any rubbish, grease, or buildup by washing with warm water and a light detergent. This step is crucial for a smooth and even application of the paint
Repairing and Preparing the Walls
It’s critical to fix any flaws in the walls for a faultless finish. Inspect the surfaces for holes, cracks, or rough areas. Fill any holes or cracks with spackle or putty, using a putty knife to smooth them out. Once the filler has dried, lightly sand the area to create a seamless surface. This step is particularly important when it comes to bedroom paint or kitchen paint, as these areas often require extra attention due to moisture and humidity.
Use sandpaper or a sanding block to level up the surface of your walls if it is rough or uneven. Pay special attention to corners and edges, as they tend to collect dust and debris. By properly repairing and preparing the walls, you’ll ensure that the paint adheres smoothly and that the final result is visually appealing.

Choosing the Right Paint
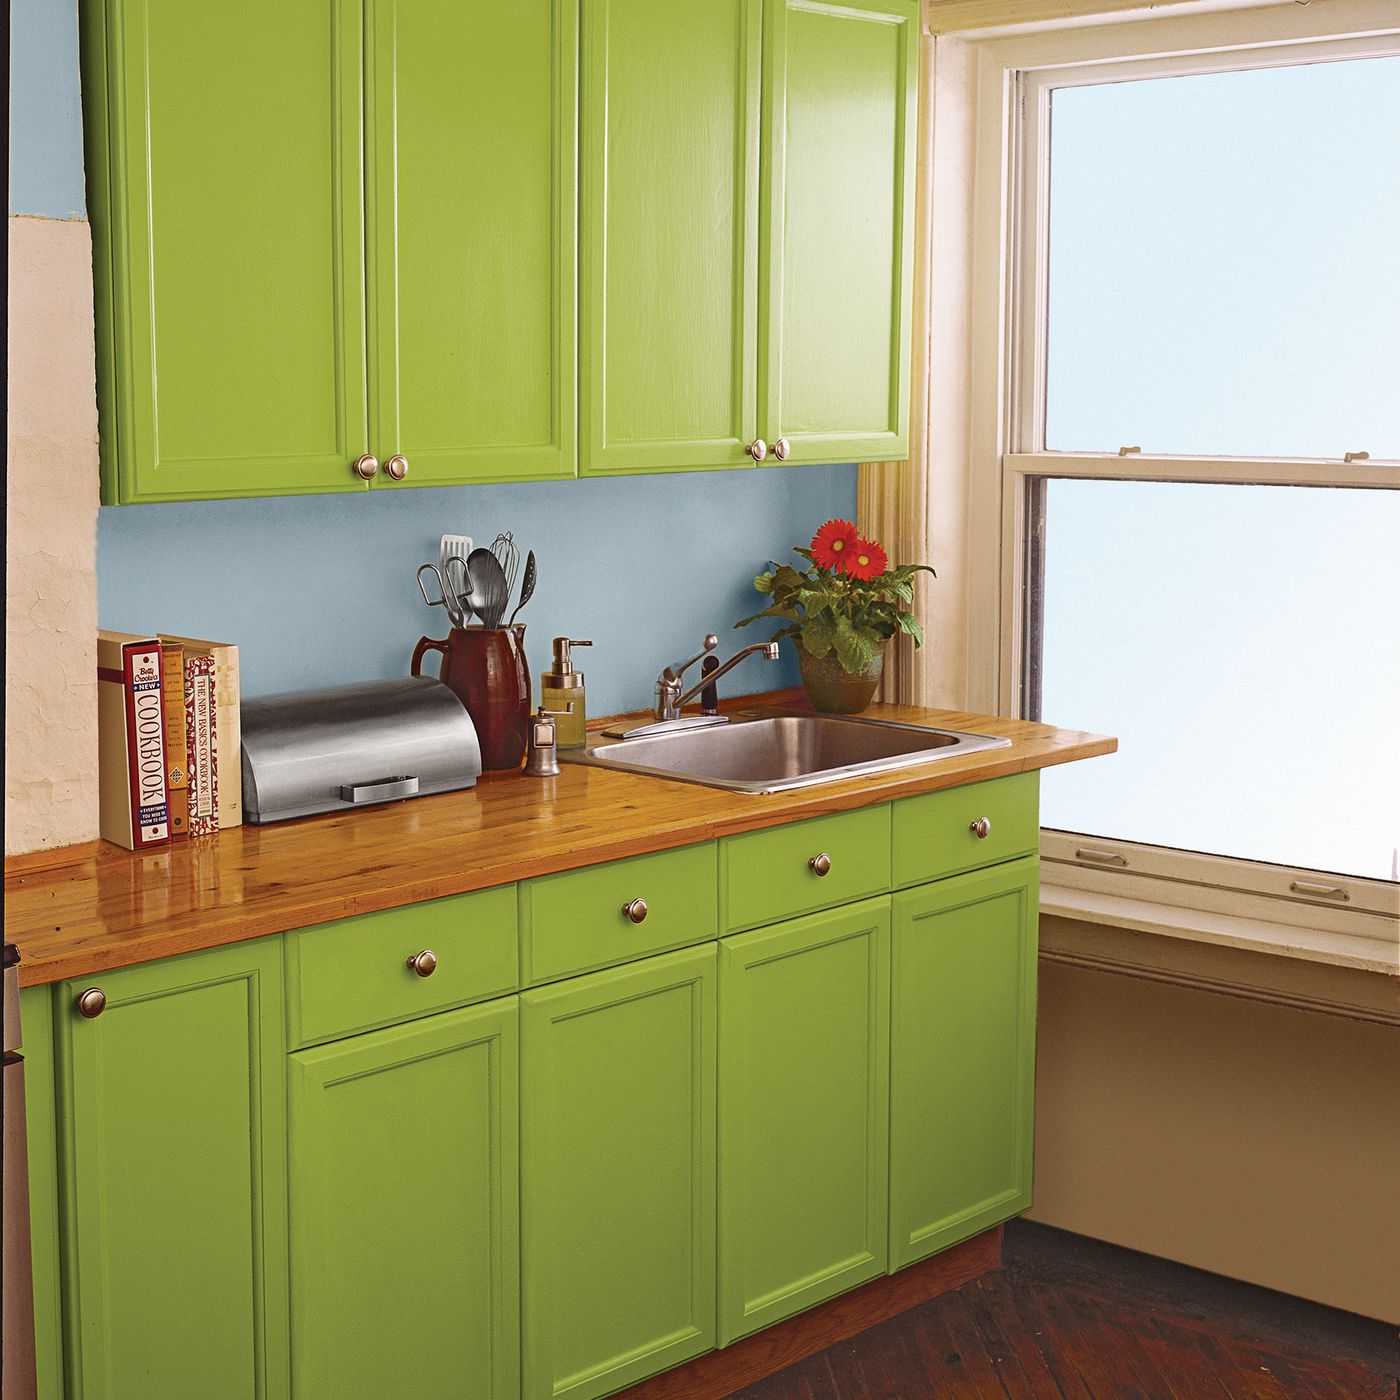
Selecting the right paint is essential for achieving the desired look and longevity. When choosing a bedroom color or kitchen paint color, take into consideration the overall style and mood you want to create. Lighter colors can make a space feel more open and airy, while darker shades can add warmth and coziness.
Consider the existing decor and furnishings in the room. Harmonize the color scheme, or opt for contrasting shades to create a focal point. It’s important to choose high-quality paints that offer good coverage and durability. This will ensure that your bedroom or kitchen paint withstands daily wear and tear and retains its vibrancy over time.
If you are wondering how much will it cost to get your dream come alive, contact us for the prices of painters and colors in Dublin and we will be more than happy to help you with your queries.

Gather the Necessary Tools and Supplies
Gather all the necessary equipment and supplies before you start painting. This will streamline the procedure and increase its effectiveness. Here is a list of what is required:
Select paint brushes and rollers of the highest caliber that are suitable for the paint you’ll be using and the surfaces you’ll be painting.
Drop cloths and plastic sheets: Protect the floors and any furniture left in the room by covering them with drop cloths or plastic sheets.
Painter’s tape and putty knife: Use painter’s tape to mask off areas you want to keep clean, such as baseboards, windows, and door frames. The putty knife will come in handy for smoothing out filler and removing excess tape.
Primer and paint cans: Ensure you have enough primer and paint for the entire project. Opt for paint cans with good coverage and quality.
Stir sticks and paint trays: Stir the paint thoroughly before use to achieve an even consistency. Pour a small amount into a paint tray for easy access during the application.
By having all the necessary tools and supplies at hand, you can avoid interruptions and focus on the painting process. We at The Small Paints Company has all what it takes to be called as the best painters in the business with a large group of happy customers and more joining with time.

Applying Primer and Paint
To ensure a professional finish, it’s important to apply primer before painting. Primer helps the paint adhere better, provides a consistent base, and enhances the color’s vibrancy. Apply the primer evenly using a brush or roller, following the manufacturer’s instructions. Pay attention to areas that might need extra coverage, such as stains or patches.
It’s time to apply the paint when the primer has dried in accordance with the manufacturer’s instructions. Use a brush to cut in along edges, corners, and trim, and then switch to a roller for larger areas. Apply the paint in even strokes, working from top to bottom. This will ensure a smooth and seamless finish. To get the desired effect, you could require several coats depending on the color and surface. Follow the paint manufacturer’s instructions for drying times between coats.
Attention to Detail
To achieve a professional and polished look, pay attention to the details during the painting process. Here are some tips to consider:
Cutting in edges and corners: Use a brush to carefully paint along edges, corners, and around fixtures. Take your time to achieve clean lines and blend the paint with the roller-applied areas.
Painter’s tape: Apply painter’s tape along surfaces you want to keep clean, such as baseboards or trim. Press the tape firmy to prevent paint bleed. To prevent stripping off any paint along with the tape, remove it before the paint dries.
Remove tape before the paint dries: When removing painter’s tape, do it carefully and gently. Waiting until the paint is completely dry may cause the tape to pull off some paint, ruining the clean lines you’ve worked hard to achieve.
Clean-Up and Finishing Touches
It’s crucial to carefully clean up and add the final touches after you’ve finished painting. Follow these steps for a successful clean-up:
Dispose of paint cans and materials responsibly. Check local regulations for proper disposal methods.
Clean brushes and rollers thoroughly. You could require different solvents or cleaning solutions depending on the type of paint used. Follow the manufacturer’s instructions for effective tool cleaning.
Once the paint has dried completely, carefully remove the drop cloths and plastic sheets, ensuring no paint chips or debris are left behind.
Reassemble furniture and fixtures in the room, taking care not to damage the fresh paint. Make sure the paint is fully dry and cured before moving furniture back into place.
Conclusion
By following the best practices for preparing a space before painting, you can achieve professional and long-lasting results. Clearing and cleaning the space, repairing and preparing the walls, choosing the right paint, and paying attention to detail will ensure a successful painting project. You can completely change any room in your house with a new coat of paint if you use the correct tools, the right methods, and meticulous execution. If your looking for a painter near you, we are here 24/7 for you.
FAQs
What is the best bedroom color for a small space?
When choosing a bedroom color for a small space, light and neutral tones, such as soft blues, pale greens, or warm beiges, can create a sense of openness and brightness.
Can I use the same paint color for the entire house?
While using the same paint color throughout the house can create a cohesive look, consider the natural lighting and purpose of each room. It’s common to choose different colors for different areas to reflect their individual functions and create unique atmospheres.
What kitchen paint color is popular right now?
Currently, neutral shades like white, gray, and beige are popular choices for kitchen paint colors. These colors provide a clean and modern look while allowing flexibility in decor and accessories.
What is the drying time for paint?
The kind of paint applied, the temperature, and the humidity may all affect how long it takes for paint to dry out.. It’s preferable to wait at least 24 hours before adding a second coat or enabling regular use of the painted surfaces, even though most paints dry to the touch in a few hours on average.
Should I paint the ceiling the same color as the walls?
While painting the ceiling the same color as the walls can create a unified and seamless look, it’s not necessary. Opting for a lighter shade of the wall color or a different complementary color for the ceiling can add depth and visual interest to the room.
Is it necessary to use primer before painting?
Using primer before painting is highly recommended, especially when dealing with new surfaces, repairs, or drastic color changes. Primer enhances paint adhesion, improves coverage, and helps achieve a more even and durable finish.
Can I paint over glossy surfaces?
It’s possible to paint over glossy surfaces; however, it’s important to prepare the surface properly by sanding it lightly to create a rough texture. Applying a primer designed for glossy surfaces can also improve paint adhesion.
The Small Paints Company has several extremely experienced painters that are ready to transform your ideas on a minute’s notice. If you wish to get booked in for a FREE QUOTATION, Call our office today on 086 127 7319. You will be provided with a free, same day quote, and if you wish to proceed, we will guarantee to have the job commenced the same week.


