Introduction
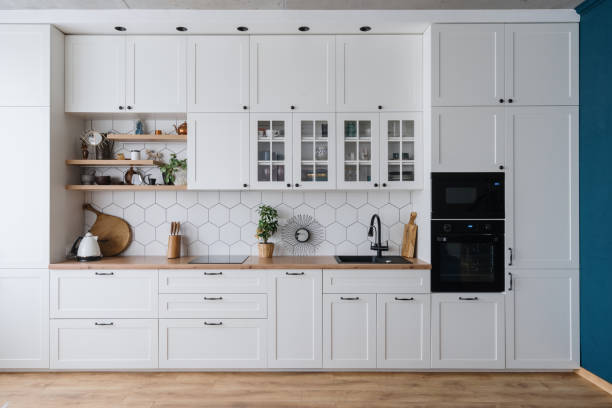
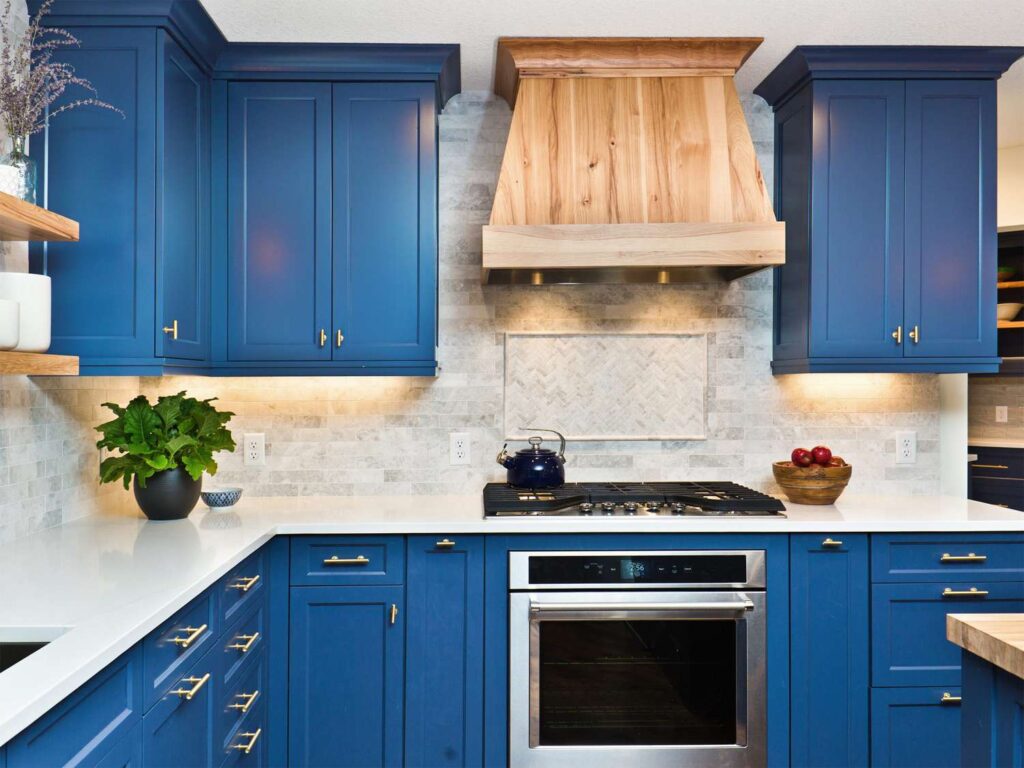
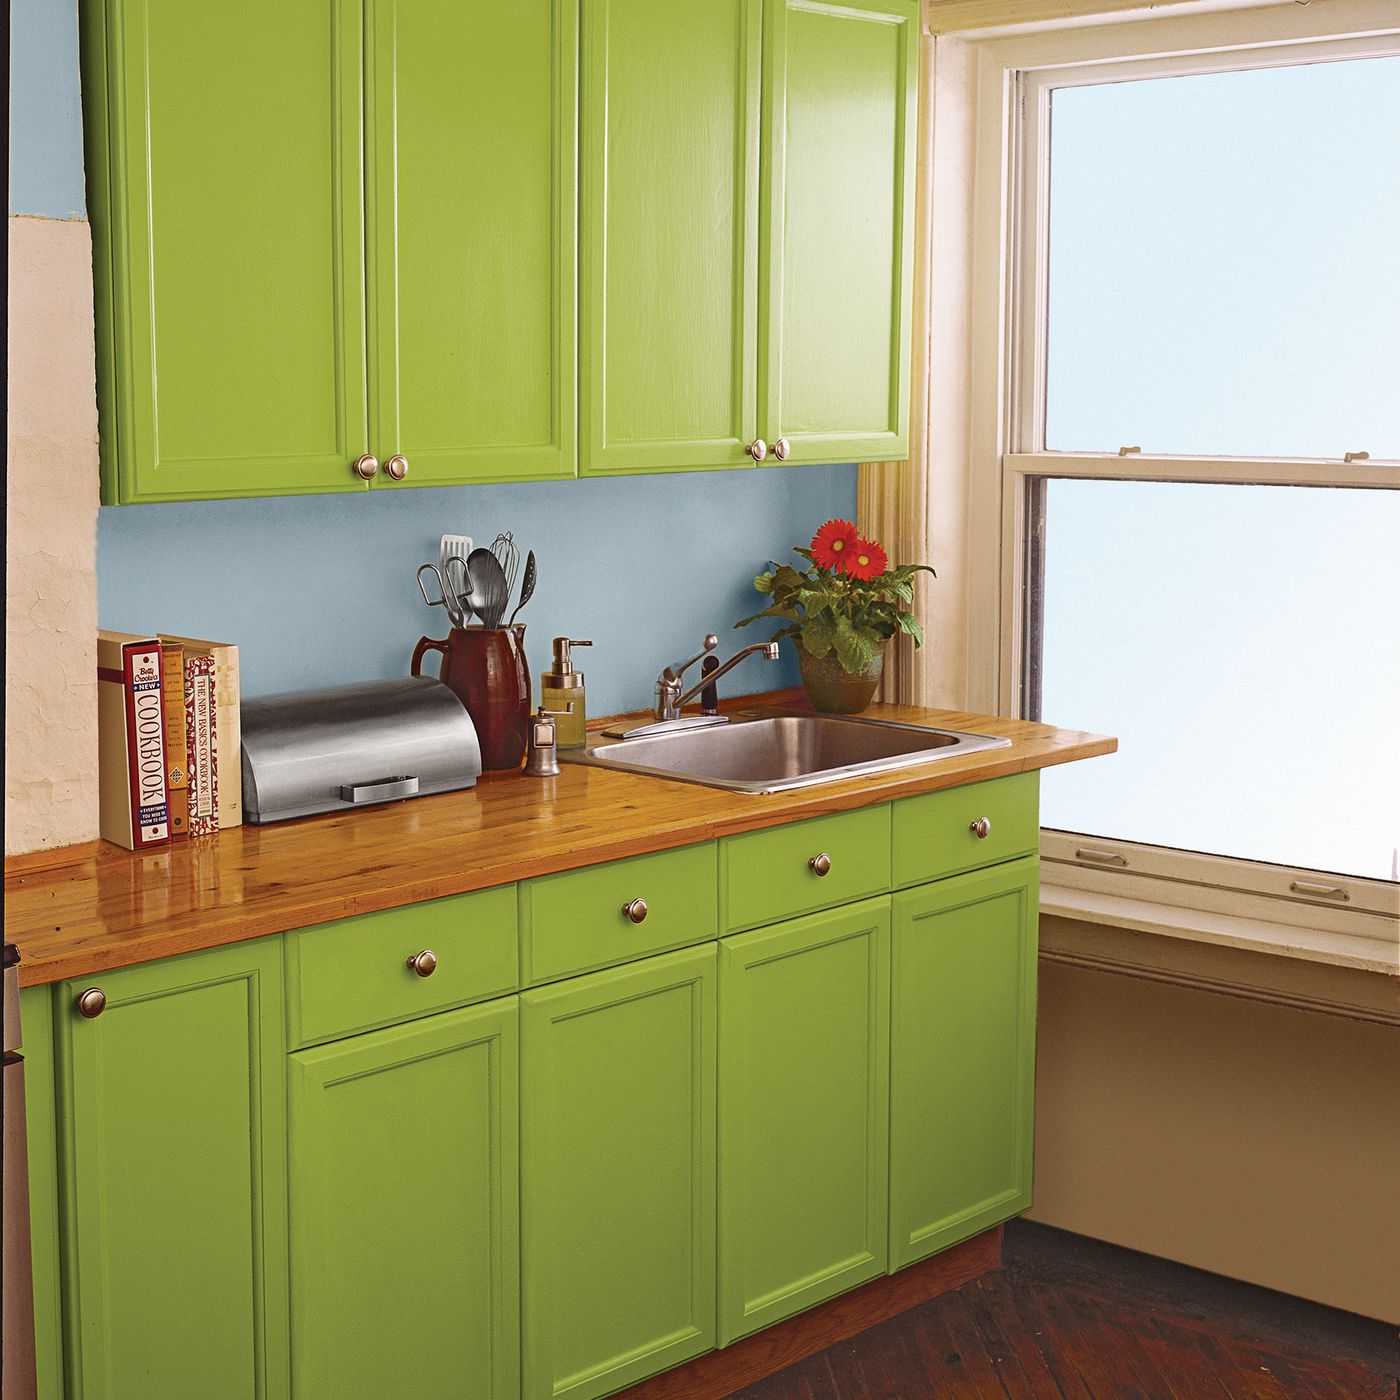
Painting your kitchen cabinets can breathe new life into your kitchen space without the need for a costly renovation. Whether you’re looking to refresh the current color or completely transform the look of your kitchen, doing it like a professional is essential for achieving the best results. In this article, we will provide you with valuable tips to help you paint your kitchen cabinets like a seasoned pro.
Preparing Your Workspace
1. Clear and Clean the Area
Before you start painting, it’s crucial to clear your kitchen of all clutter and appliances. This will give you ample space to work and minimize the risk of accidental paint spills. Additionally, thoroughly clean the cabinets to remove any grease, grime, or dust that might affect the paint’s adhesion.
2. Set Up a Painting Station
Create a dedicated workspace for painting your cabinets. Lay down drop cloths to protect your flooring and countertops from paint splatters. Set up a table or sawhorses to elevate the cabinet doors for easier access and a smoother painting experience.
Gathering The Right Supplies
3. Choose the right paint
Selecting the right paint is crucial for a professional finish. Opt for high-quality cabinet paint with a durable finish, such as semi-gloss or satin. These finishes are not only visually appealing but also easier to clean and maintain.
4. Invest in Quality Brushes and Rollers
Using high-quality brushes and rollers will make a significant difference in the final result. Quality tools ensure smoother application and reduce the chances of brush marks or streaks on your cabinets.
Preparation Of Cabinets
5. Remove Cabinet Hardware
Before you start painting, remove all cabinet hardware, including handles and knobs. This will make the painting process more manageable and allow you to achieve a seamless finish.
6. Sand and Prime
To ensure the paint adheres properly, sand the cabinet surfaces lightly. After sanding, apply a primer to create a smooth and even base for the paint to adhere to. This step is crucial for a professional-looking finish.
Drying And Reassembly
9. Allow for Adequate Drying Time
Patience is key when painting cabinets. Allow the paint to dry for the recommended time before reattaching hardware and reassembling your cabinets. Rushing this step can result in smudges and imperfections.
10. Reattach Hardware Carefully
When reattaching hardware, handle it with care to avoid scratching the freshly painted surfaces. Use a screwdriver or drill to ensure a secure fit.
Final Touches And Maintenance
11. Apply a Protective Topcoat
For added durability and protection, consider applying a clear polyurethane topcoat. This will safeguard your cabinets from daily wear and tear, making them easier to clean and maintain.
The Painting Process
7. Apply Thin and Even Coats
When it’s time to paint, apply thin and even coats to prevent drips and uneven finishes. Start with the cabinet frames, followed by the doors and drawer fronts. Let each coat dry perfectly before applying the next coat.
8. Use a Paint Sprayer for a Flawless Finish
For the smoothest finish possible, consider using a paint sprayer. Sprayers provide an even coat of paint and minimize brush or roller marks. If you’re new to using a paint sprayer, practice on a spare piece of wood first.
086 127 7319
Conclusion
By following these tips, you can transform your kitchen cabinets like a professional. Painting your cabinets not only enhances the aesthetic appeal of your kitchen but also adds value to your home. Remember to take your time, use quality materials, and embrace the process. With a little patience and effort, you can achieve stunning results. The Small Paints Company is the one stop shop for all your painting needs.
FAQs
1. How long does it take to paint kitchen cabinets like a pro?
The time it takes to paint kitchen cabinets like a pro depends on several factors, including the size of your kitchen, the number of cabinets, and your experience. On average, it may take a couple days to finish the entire thing.
2. Can I paint over existing cabinet paint?
Yes, you can paint over existing cabinet paint. However, it’s essential to thoroughly clean and sand the cabinets before applying a new coat of paint for the best results.
3. What’s the difference between semi-gloss and satin paint for cabinets?
Semi-gloss paint has a shinier finish and is more durable and easy to clean than satin paint. Satin paint has a softer sheen and is less reflective but still offers good durability.
4. Do I need to remove cabinet doors to paint them?
While it’s not necessary to remove cabinet doors to paint them, it can make the process easier and provide a more even finish. Removing doors also allows you to paint both sides for a cohesive look.
5. Can I paint cabinets that have been previously stained?
Yes, it is possible to repaint cabinets that have previously been stained, but in order for the paint to adhere effectively, they must first be thoroughly sanded and primed.
Painting your kitchen cabinets like a professional can be a rewarding DIY project that transforms your kitchen’s appearance. With the right tools, materials, and techniques, you can achieve a stunning result that breathes new life into your space. So, roll up your sleeves, follow these tips, and enjoy the satisfaction of a job well done. Get In Touch with The Small Paints Company for all your painting needs because for us no job is too big or too small.

