Did you purchase a dresser at a car boot sale with the thought that it would look fantastic painted? Do you have a piece of furniture in your house that may use some updating, but you’re afraid to start painting over it for fear of ruining everything? The same is exactly how we felt the first time we painted bedroom furniture or while spraying furniture, and readers and friends have frequently expressed this concern to us.
To help you feel more at ease and give you a few tips we’ve picked up along the way so you can confidently take on that furniture painting or spraying furniture project
Prepare your piece properly.
This is not just the initial stage in the process; in our opinion, it’s also the most crucial one. The biggest mistakes we encounter are those that result from improper planning, and those mistakes are sometimes the hardest to remedy. The best solution then will be to reach out to professional furniture painters
In order to scuff up the finish, we basically always sand anything we’re painting We occasionally prime as well, depending on the kind of paint we are using for the topcoat. In the next tip, we’ll go into greater detail on that.
Select the Proper Paint/ furniture paint spray
The type of paint you should use for your piece of furniture depends on a number of variables, including the cost of spray painting furniture, the look you want to achieve, and the old furniture’s condition. We’ve used several different brands and styles of paint or spraying furniture, and each one produces a distinctive finish. We’ve tried to explain how different paints differ from one another and list the advantages and disadvantages of each. You can see your options here: https://www.woodies.ie/paint-decorating/specialist-paint/furniture-paint

Furniture Painters best tip: Watch Out For Drips
Drips are one of the faults we frequently see while we’re looking for items to restore. If you catch your drips in time when painting, you won’t even be able to tell if you painted the old furniture or a professional furniture painter
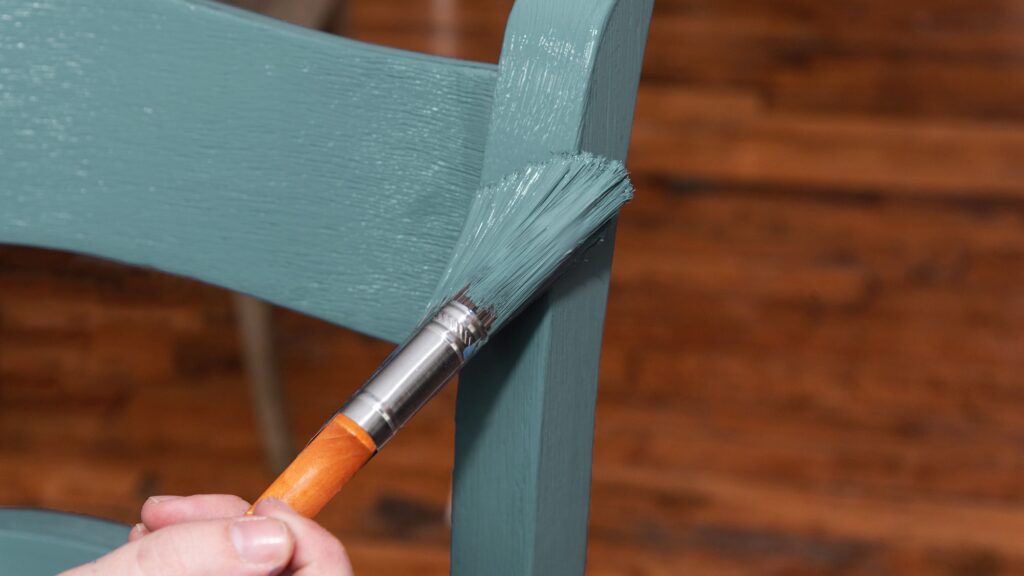
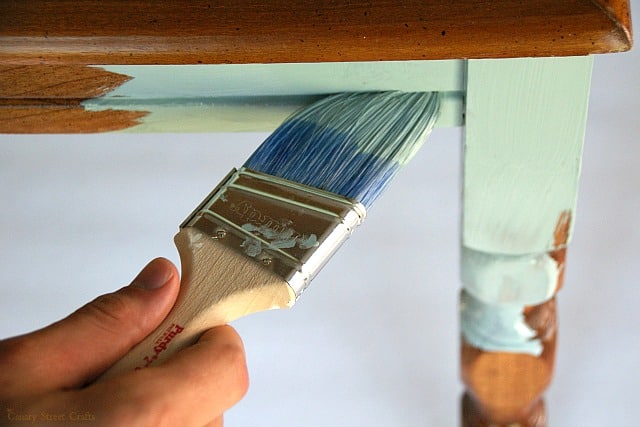
Watch out for drips on chair legs, spindles, detail work, and piece corners and edges. Imagine that you are painting a dresser’s side. Check the adjoining sides at the corners as soon as you finish a side, or even halfway through, to make sure no more paint dripped to the opposite side. If it does (and it most likely will), simply run your brush over the edge to capture the drips. Kitchen Spray Painters look out for the tiniest detail and watch out for any drips that could spoil kitchen makeovers.
Finding and catching those drips before they begin to dry is crucial in this situation! If they do begin to dry, you will either be removing an excessive amount of paint while attempting to brush off the drop or you won’t be able to do so at all. If this does occur, you can wait until the paint has fully dried before sanding the drip off and applying your next layer of paint.
Make sure to keep your distance from the surface of your old furniture when spraying furniture it at roughly 10 inches. Spraying too close to the object will result in drips or a paint area that will start to drip in a few minutes. The furniture paint sprayer should be kept at a distance before spraying. If this
You may need to check for drips a lot more frequently if you are painting outside and the paint is drying quickly. If you are a painter in Dublin, check again, even if you think you just did!

Fewer is Better
Actually, there are two tips in this one! Less brushing is preferable to excessive brushing, and each layer should include a little more paint than necessary. All Furniture Painters should know this.
When we initially started painting furniture, we believed that the paint needed to be applied precisely for it to dry smoothly. The result was that we repeatedly painted over an area to get a smooth finish, but the paint was already beginning to dry when we did so, so our brush would drag through it.
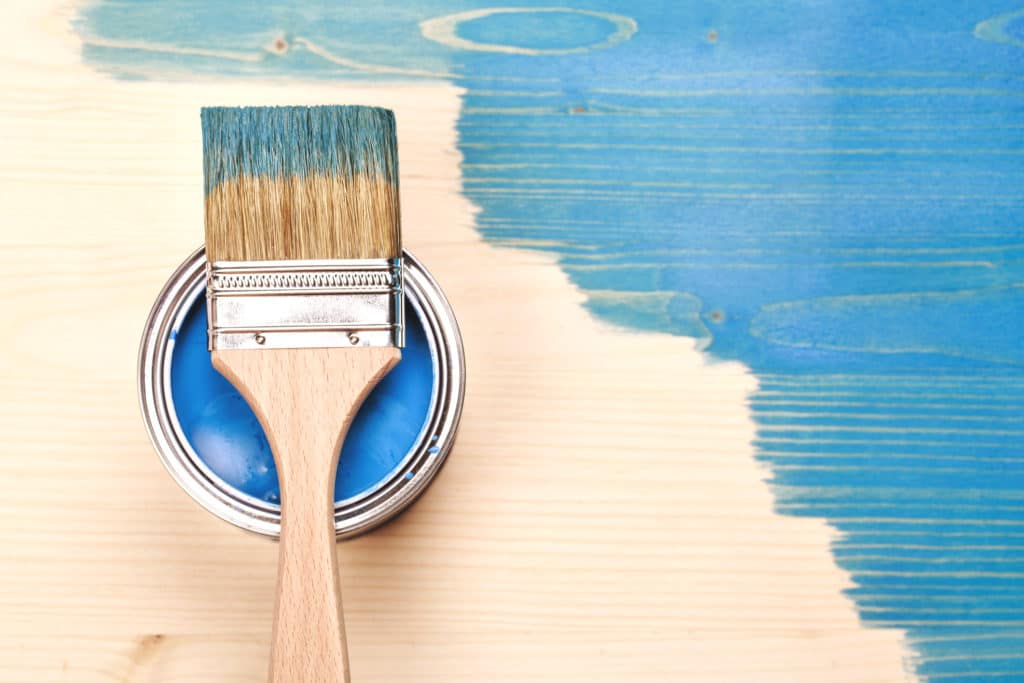
Here’s our advice: Apply your initial application using a brush and then leave it alone. Most furniture is well painted and level (which means as they dry, any brush strokes you might see when it is still wet will smooth out). You’ll end up painting with more brush strokes and a stickier mess if you try to overbrush. Because chalk paint dries so quickly, we find this to be particularly true with it. Simply make a stroke and leave it alone.
It is so alluring to try to load the brush or roller with more paint in the hopes that you won’t need to apply a second coat, isn’t it? Although I’m guilty of attempting this method on our walls, I’ve never had success with it on furniture. A lovely finish can be achieved with two to three lighter coats of paint and light sanding. We’ll assure you that it’s time well spent, and you would have done similar to an expert furniture painter.
Start Little
You’ll feel a lot more assured once you’ve painted one piece of old furniture, we guarantee it. Starting with something tiny and relatively worthless to you is our advice in this situation. A side table, in our opinion, is a terrific place to start. Utilize one if you have one lying around and don’t mind learning about it. Or, you can easily find them at thrift shops for a reasonable price.
The goal here is to give oneself the opportunity to make mistakes, even if you do wind up doing a wonderful job on the smaller object. If you’ve done it once before, you won’t be as anxious or doubt yourself as much when it comes to that lovely dresser you want to refinish.
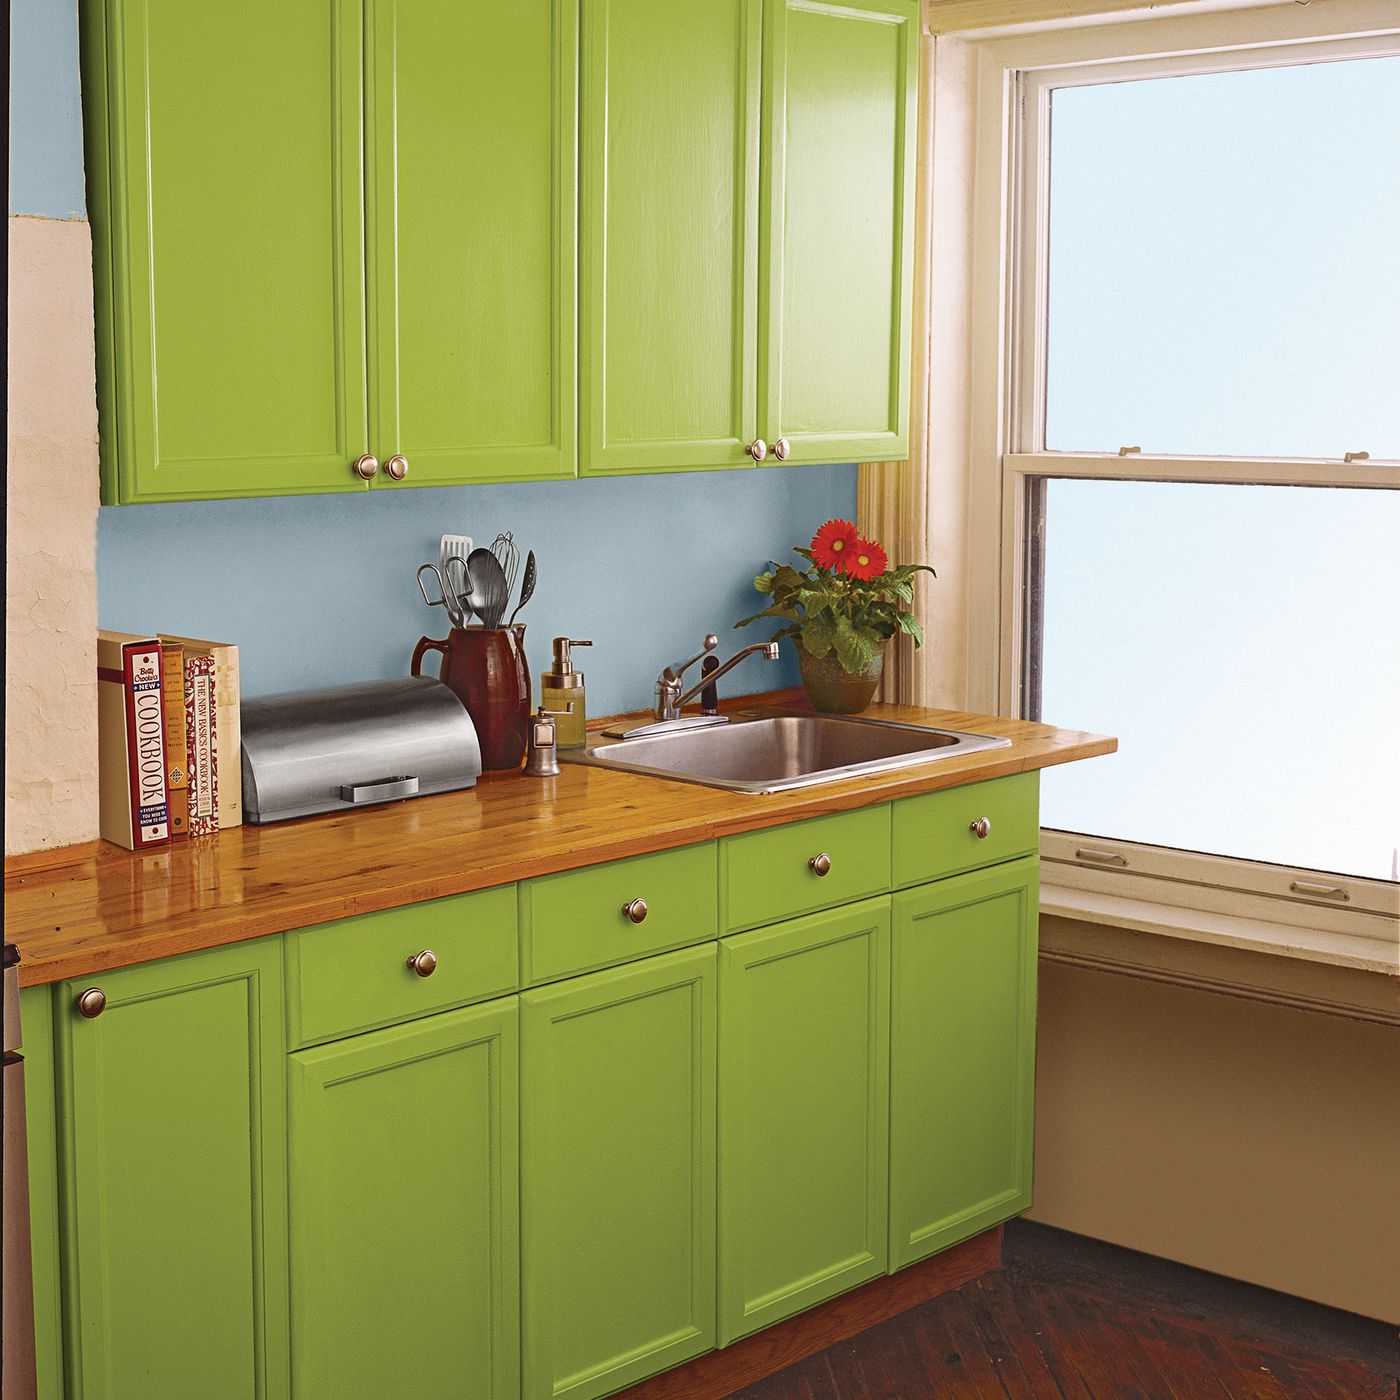
When we painted our first piece of furniture, we probably just followed this advice. We discovered a small table, moved the plant on it to another table containing plants and brought it home. Once you are assured of your skills then you can take up bigger and get paint for the dining table or spray paint the kitchen.


