A Pro's Guide for Painting Wooden Stairs to Transform Hallways
A reasonably fast DIY project that may completely change the look of your space is painting the stairs. Good news if money is tight: painting ideas are always a fantastic, affordable way to make worn-out hallways seem more cherished.
The stairs also need some TLC because they are frequently the first thing you see when you enter a room (especially in Victorian homes). With the help of our guide, discover how to paint a staircase that will look great for years to come.
Paint a staircase

Our easy-to-follow, step-by-step DIY and decorating tutorial will teach you how to paint stairs using specialty floor paint to breathe new life and colour into your own hallway.
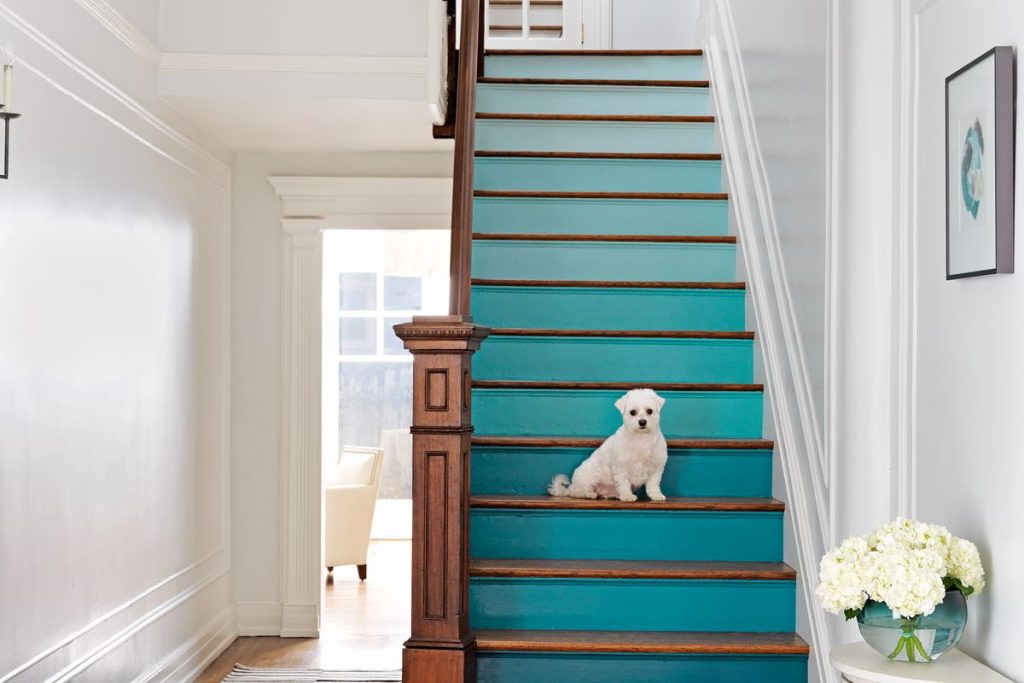
Wooden steps that have just been painted might look chic on their own. Or, alternatively, can offer the ideal blank slate for a beautiful carpet runner to be laid. In either case, painting the steps with a fresh coat of paint is a straightforward yet elegant staircase concept that will improve the decor.
Top advice before you begin:
- Start early or when the rest of the family is downstairs working or in the garden and won’t require access for a while. Alternately, get started after the kids have gone to bed. This means that you might need to paint over a few days.
- Allow enough time for the paint to completely cure before allowing anyone to step on it. Because it will become more durable the longer you let it dry. You’ll need to make plans around that if the lone bathroom is upstairs.
- Paint sequentially, beginning at the top and moving downward. You don’t want to get stranded on the wrong floor, so either go up instead of down, depending on where you want to finish. Although it may seem obvious, it is possible to make a mistake.
- We would advise you to paint every other step, then note the remaining steps and return to finish them once they are dry.
What you'll need
· Sander | · Cleaning Agent |
· Dust Mask | · Cleaning Cloth |
· Paint Scraper | · Masking Tape |
· Wood Filler | · Floor Paint |
· Paint Brush & Roller | · Paint Tray |
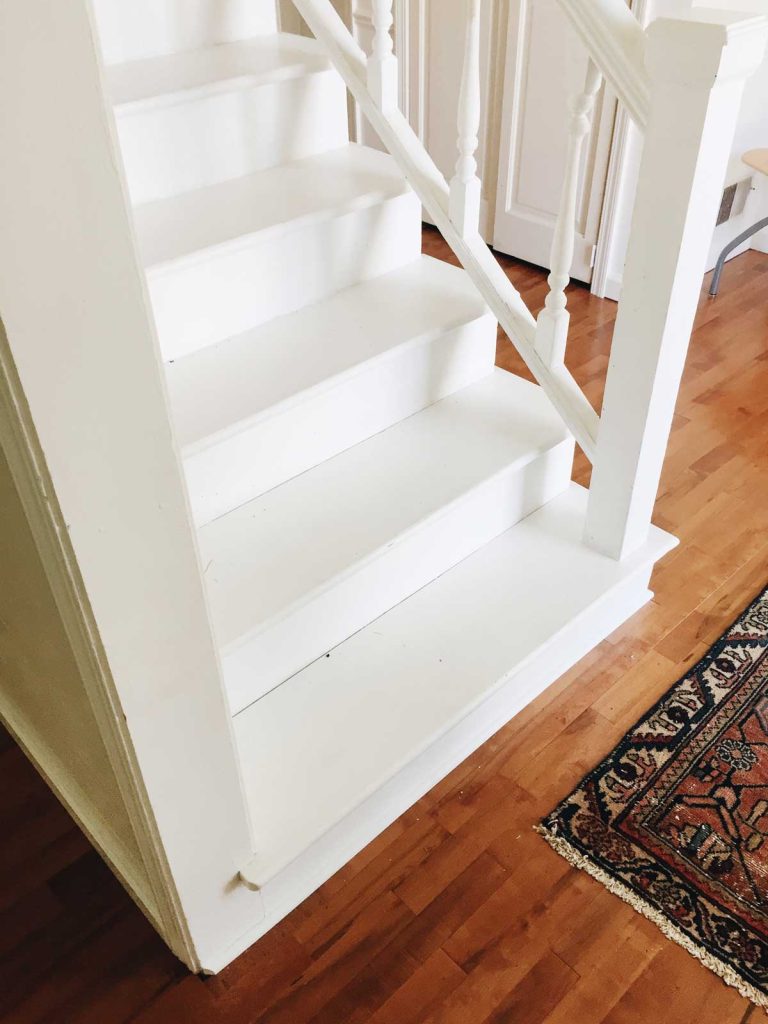
1. Get the steps ready
Your hardwood staircase should be free of any worn carpet. Before you begin, you must confirm that the surface is in good shape. To get the floor ready for painting, fix any loose or cracked parts, fill any dents with wood filler, and sand any rough patches.
Today’s speciality paint has the advantage of being able to be put directly over previous paint or varnish, eliminating the need for hours of further sanding.
2. Select the appropriate paint
Choose the proper paint whether you’re painting a dramatic stair runner or maintaining the same colour pattern for the entire corridor. The best solution would be floor paint.
Water-based paint that is durable resists dents and scratches. Additionally, there is no requirement for a topcoat because it may be sprayed straight over existing paint or varnish and onto concrete or hardwood floorboards.
Best practice: Tape off any necessary locations. Use decorator’s tape to outline your design if you’re painting a runner or stairwells in various colours.
Once finished, remove any remaining dust with a vacuum and wipe with a cleaning solution and towel.
3. Commence painting
Make sure there are no drips when applying the chalky finish floor paint. Where the stair riser and tread meet, use a brush to smooth out any features and angles. You can use a small foam roller for any larger, flat surfaces.
Avoid the temptation to use several heavy coats of paint. If you paint several thin layers as opposed to one heavy coat, the coverage will remain considerably longer. Apply the subsequent layer only after the previous one has completely dried. Aim for a minimum of two coats, though you might need more.
4. Remove the tape, then tidy up.
Eliminate any decorative tape. Once everything is dry, give it one last brush or vacuum. After then, take a step back and enjoy your work!
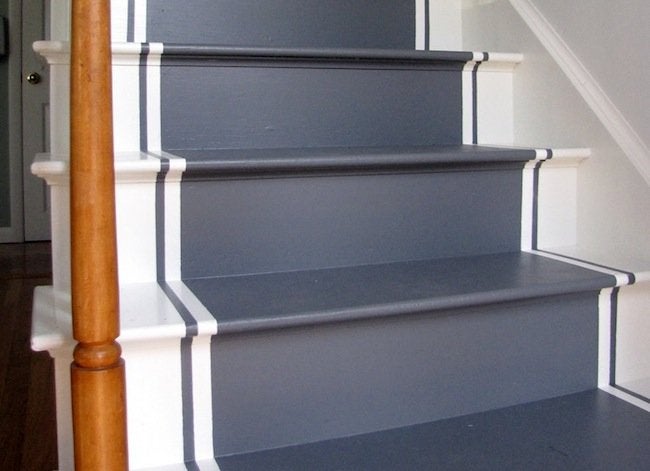
Mixing colours will give the appearance of a thoughtfully painted staircase additional depth. While giving the step itself a small splash of colour, paint the risers the same colour as the edging and bannisters (in this case, white) (in this case light grey).
In hallways, where first impressions matter, a newly painted staircase may make all the difference. Depending on how well they are maintained to minimize undue wear and tear, the stairs will undoubtedly need a fresh coat of paint every few years due to the significant foot traffic they receive.
See our top queries asked by customers daily:
A. What do you paint first when painting stairs?
We advise painting the spindles and railings first. After that, use a small paintbrush to begin painting the stairs before moving to a roller. Work your way downward starting at the top.
B. Should you use a roller or a brush to paint the stairs?
You’ll need a tiny roller and a brush to paint your stairs
C. Before painting staircases, do you need to sand them?
Yes, you should use a sanding sponge and fine-grit (220-grit) sandpaper. Before painting, sand the spindles, handrails, and any other wood surfaces to make them smooth. Sanded surfaces should be cleaned with a moist cloth after vacuuming up any sanding dust.